
This guide shows you how to enable and manage the whitelist on your PineRiver Minecraft server, ensuring that only selected players can join.
When you enable a whitelist, only players who have been added to the list can connect to the server. This is an effective way to keep your server private and under control.
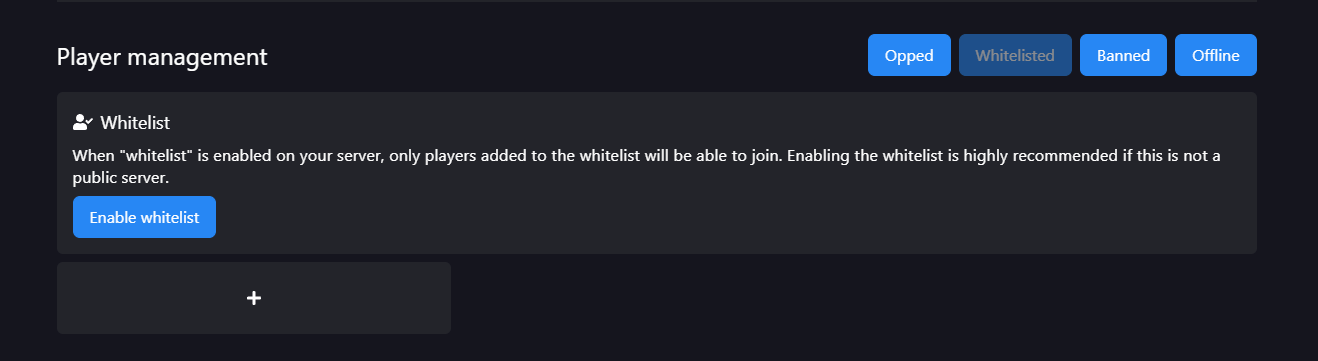
Once the whitelist is enabled, you can add or remove players in two ways:
whitelist add [player-name] to add a player.whitelist remove [player-name] to remove a player.After adding or removing players from the whitelist, we recommend restarting your server so the changes take effect. You can start or restart your server from the Servers section in the GamePanel.
whitelist off in the console.
If you have questions or run into issues, our support team is ready to assist you:
Tip: Keeping your whitelist updated ensures that only the players you want can access your server.
You are now ready to manage access to your Minecraft server with the whitelist feature. Enjoy a more secure and private gaming experience!
Feel free to contact us if you have questions, and we will get back to you.
Contact one of our live chat supporters to receive real-time assistance.
Join our community Discord and ask any questions you may have.
Our knowledge base contains a wealth of information to help you with the issue you're facing.
Start your server today and we'll give you a 25% discount on your first server. Use code NEW25 at checkout.


We are reviewed 4.5 out of 5
Copyright © 2025 PineRiver | VAT: DK41080841 | All rights reserved.


