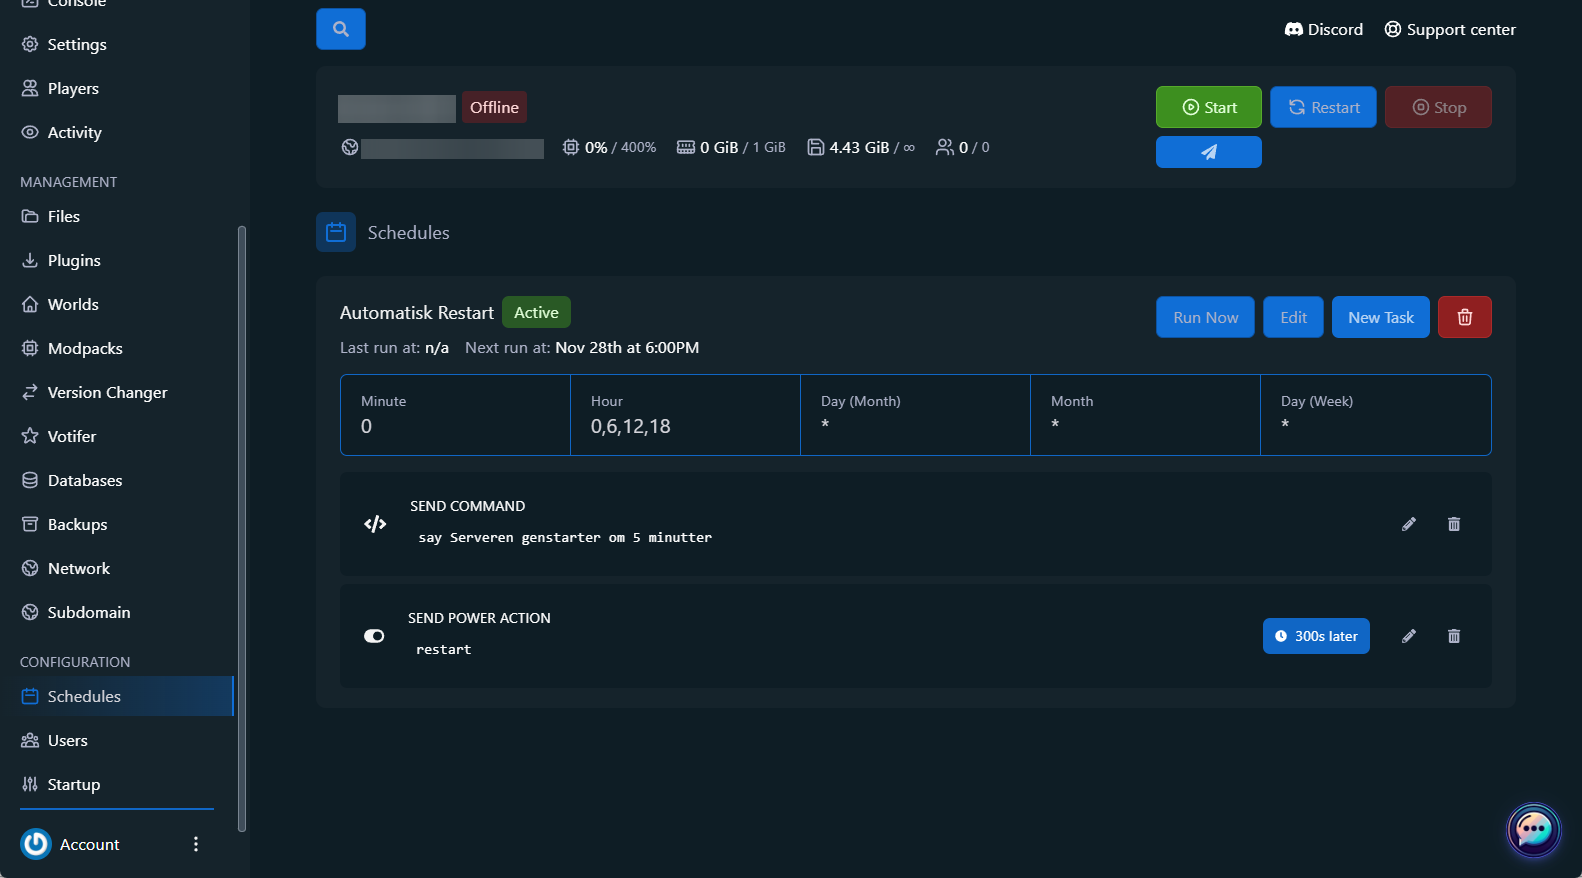
1. Navigate to Schedules
- Log in to the game panel.
- Select the server you want to set up a schedule for.
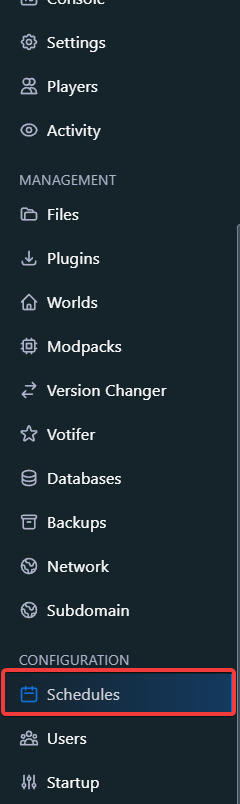
- Click "Schedules" in the left menu under "Configuration"
2. Create a new schedule
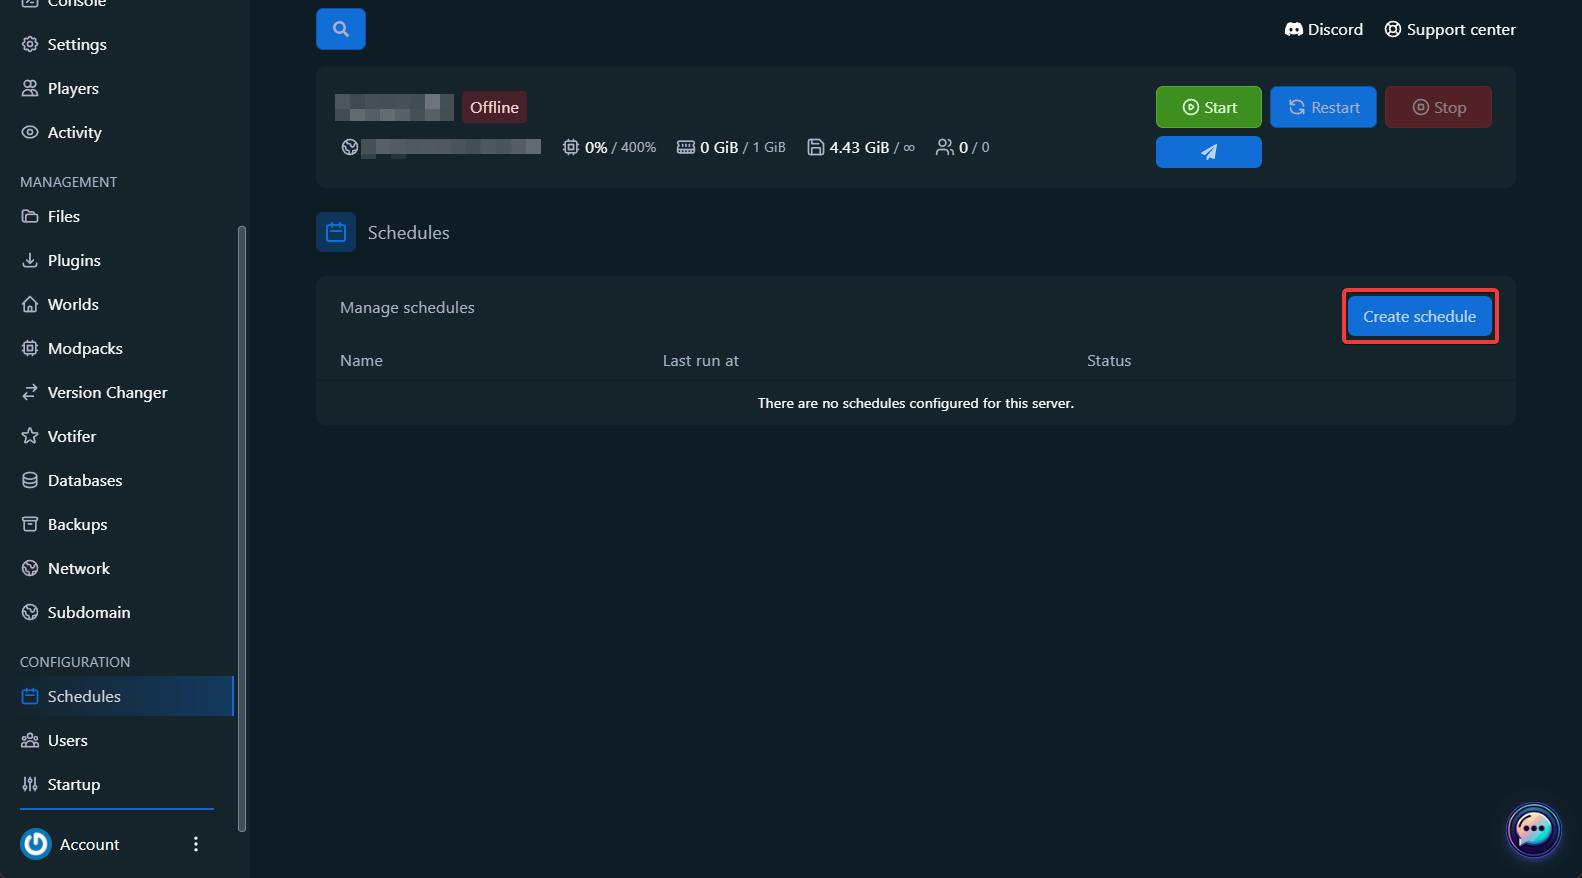
- Click on "Create schedule".
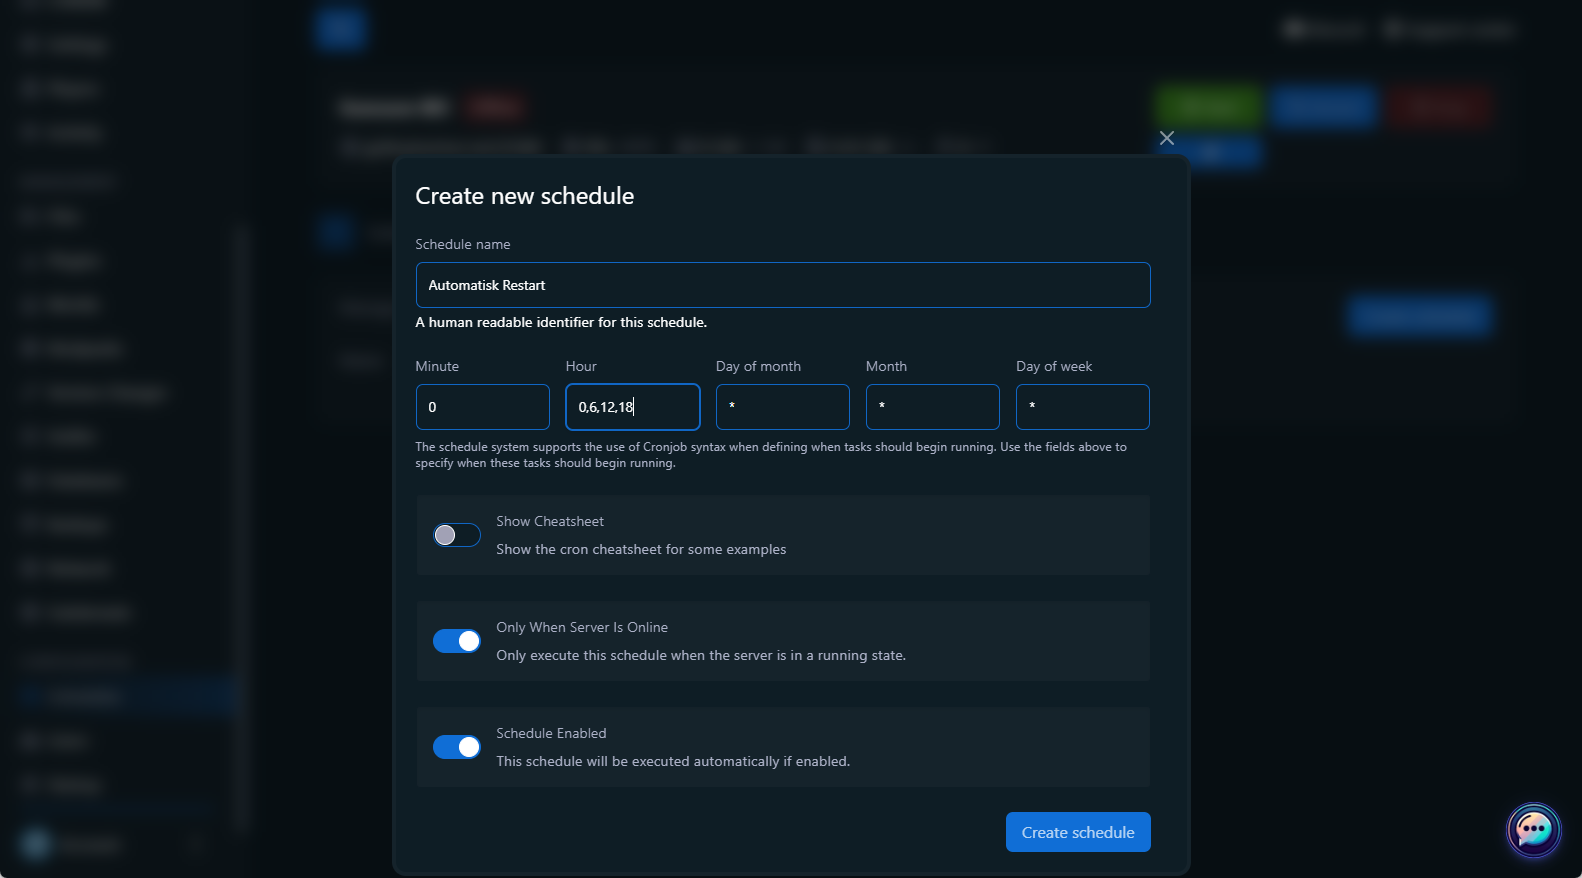
- Fill in the following fields:
- Schedule name: Give the schedule a recognizable name (e.g. "Automatic Restart").
- Cron-fields: Fill in the fields for schedule frequency:
- Minute: Hvilket minut tidsplanen skal køre (fx
*/5 for hver 5. minut).
- Hour: Which hour the schedule should run (e.g. 0,6,12,18 for 00:00, 06:00, 12:00 and 18:00).
- Day of Month, Month, Day of Week: Use * to run every day/month/weekday.
- Select relevant settings:
- Only When Server is Online: Enable if the schedule should only run when the server is active.
- Schedule Enabled: Toggle on to activate the schedule.
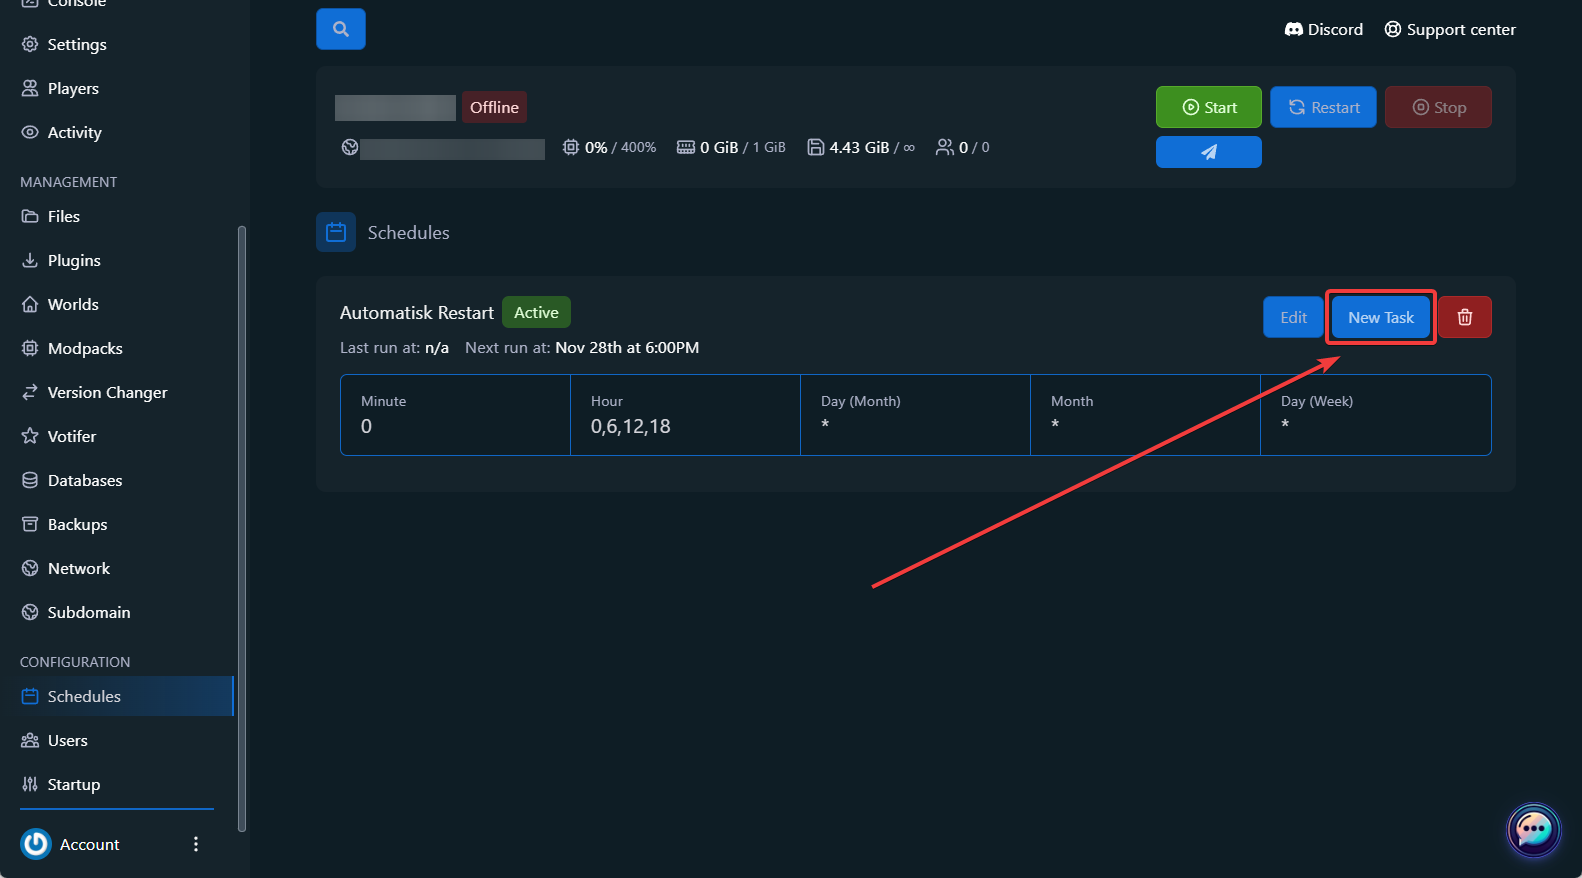
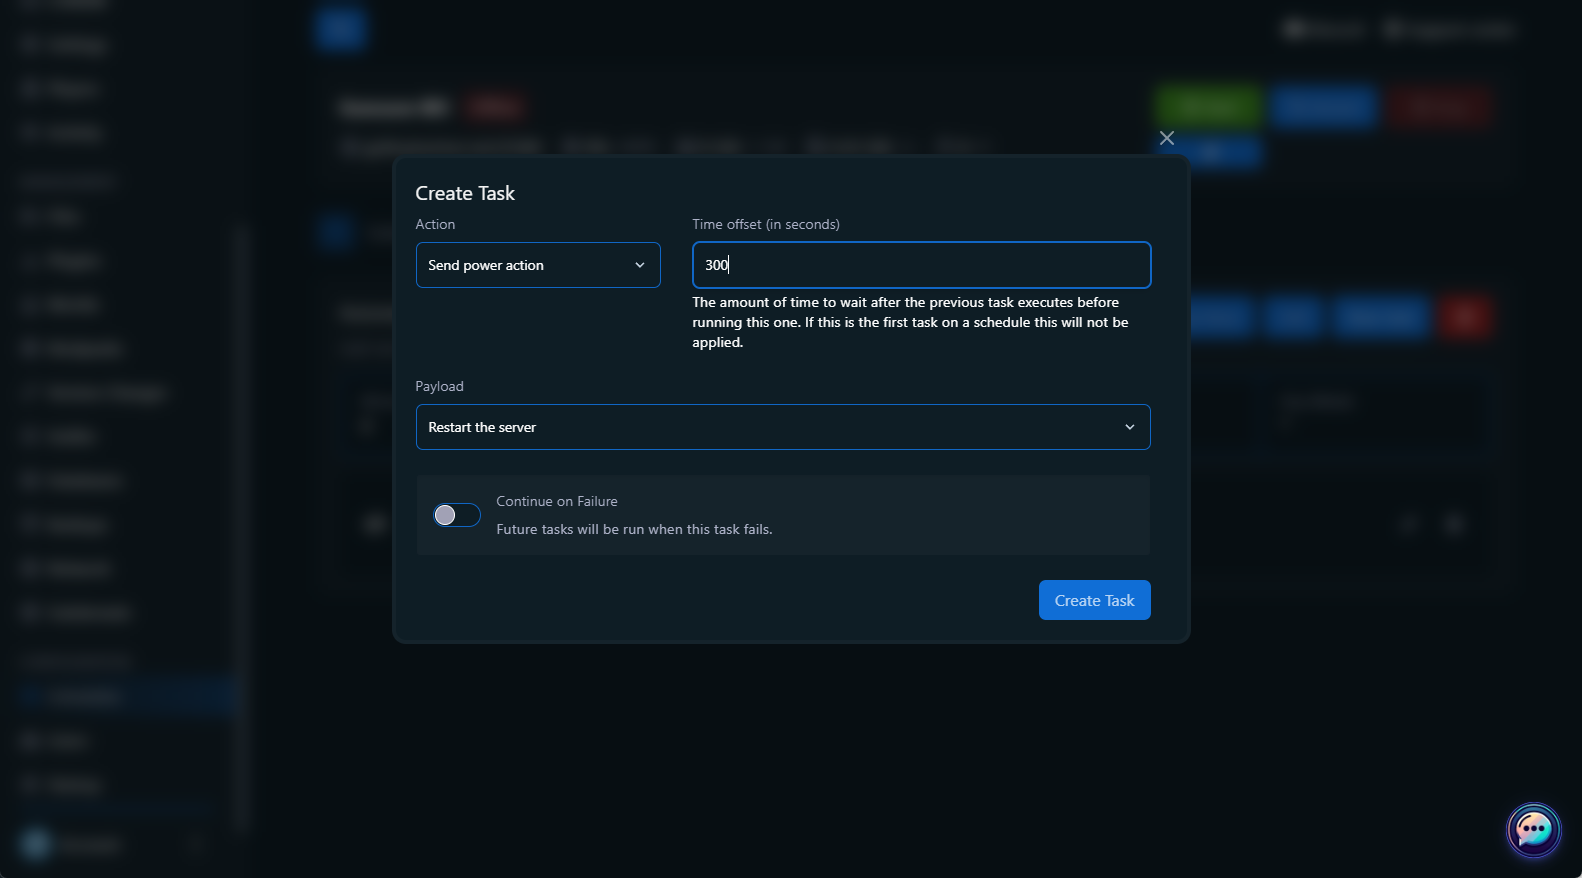
3. Add tasks
-
Click on "New Task" inside your schedule.
-
Select an action from the menu:
- Send Power Action: Restart, start or stop the server.
- Send Command: Execute a server command (e.g
say Server restart in 5 minutes).
- Create Backup: Lav en backup af serverens filer.
-
Udfyld relevante detaljer:
- For commands: Enter the exact command in the Payload field.
- For backups: Fill in any files to be avoided in Ignored Files.
- Time Offset: Specify how many seconds the task should wait after the previous task.
-
Click on "Create Task" to save the task.
Eksempler på tidsplaner
Example 1: Automatic Daily Backup
- Schedule Name: Daily Backup
- Cron Settings:
- Minute:
0
- Hour:
2
- Day of Month, Month, Day of Week:
* (every day/month/weekday)
- Task: Create a backup with default settings.
Example 2: Scheduled Server Restart
- Schedule Name: Restart Every 6 Hours
- Cron Settings:
- Minute:
0
- Hour:
0,6,12,18
- Day of Month, Month, Day of Week:
*
- Task 1: Send a message to players (
say The server will restart in 1 minute).
- Task 2: Restart the server after a 60-second offset.
Example 3: Weekly Maintenance
- Schedule Name: Maintenance
- Cron Settings:
- Minute:
0
- Hour:
3
- Day of Week:
0 (Sunday)
- Task: Stop the server and create a backup.